Everyone in the modern world dreams of getting a good manicure, however not all of them have enough money to spend on it at a salon. But there’s nothing to worry about as you can give yourself a very good manicure all by yourself sitting at your home. Firstly all you have to do is get all the essential products as required and then you need to know the step wise process of doing so. If you manage to get all the required items and you have got some patience, then you can easily do a beautiful, salon-calibre manicure sitting at your home all by yourself. So today we are here to help you by letting you know about all the essential supplies which will be used up and also how to use them to get the best beautiful outcome.
Step 1- Own All The Essential Products
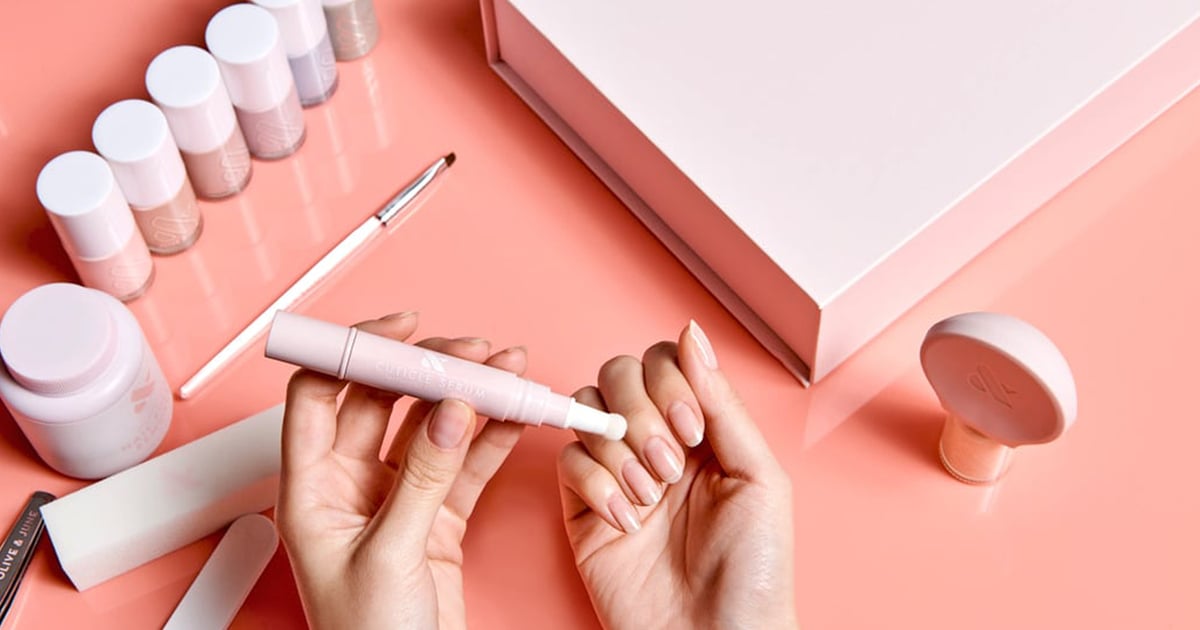
One important thing all of us should keep in our mind while purchasing all the items is to go for the products that will be lasting for several months or maybe around a year. Going this way will surely help you save money on a long-term basis. It is also suggested to go with products which are trending at that time. So here’s what you require-
Nail polish remover, Nail trimmers, Cotton balls, Cuticle Pushers, Nail buffers, Nail file, Cuticle oil, Nail colour and a base and top coat for your nails.
Step 2: Cleaning the Nails With The Help Of Nail Polish Remover
Cleaning up your nails becomes the first thing to be done after you have got yourself all the required products. You can easily clean up your old polish by using a nail polish remover. After you have removed the old polish, you need to wash your nails and then wait for them to completely dry before you can begin with the manicure process.
All those who desire to have long nails must clean their nails nicely using soap and slightly warm water.
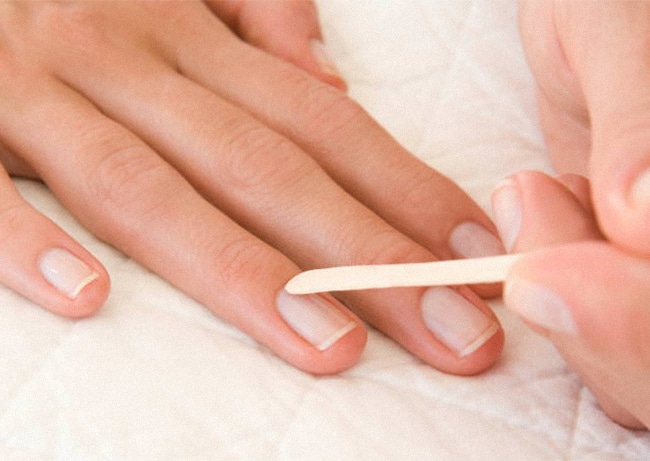
Step 3: Trim and file the nails
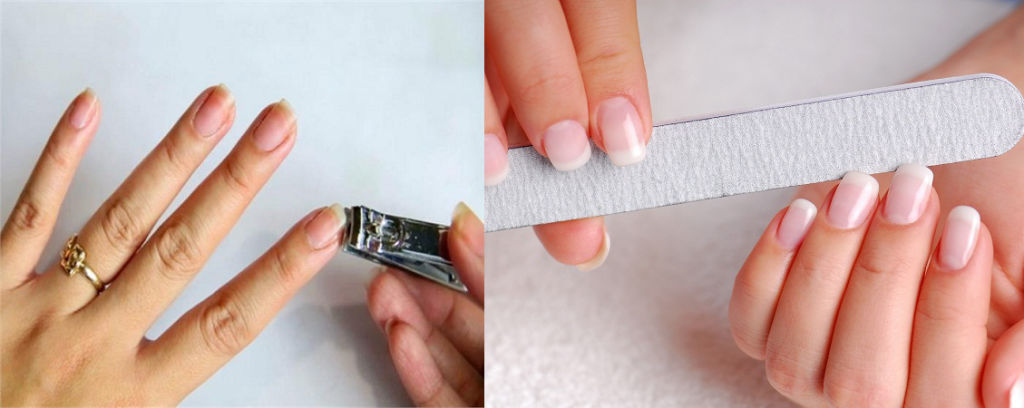
After cleaning your nails you need to properly trim them with the help of nail clippers. Trim your nails according to your desired length. One should remember that longer nails may surely look very pretty but maintaining them is very difficult. Nextly while you file your nails, you should remember to use the file gently on your nails by dragging it in one particular direction only. By doing so you can prevent your nail fibres from getting weak. You can also design your nails in popular shapes like square or oval shapes.
Step 4- Buffing of Nails
Buffing of Nails is very important as buffing works to smoothen your nails and also provides an even surface for nail polish you will be applying subsequently. But you need to be very careful with this step. Remember not to use it too hard or buff too much as it may thin out the surface of your nails and for sure no one would like that.
Step 5 – Pushing Back Your Cuticles
After you are done buffing your nails you need to soak them well in warm water. As a result of this your Cuticles will soften up and it would become easier to push them back. You can use a cuticle pusher to push your cuticles back. You need to be careful and not use the pusher too hard and also prevent the tearing of the Cuticles.
Final Step – Applying The Nail Polish along with base coating and top coating
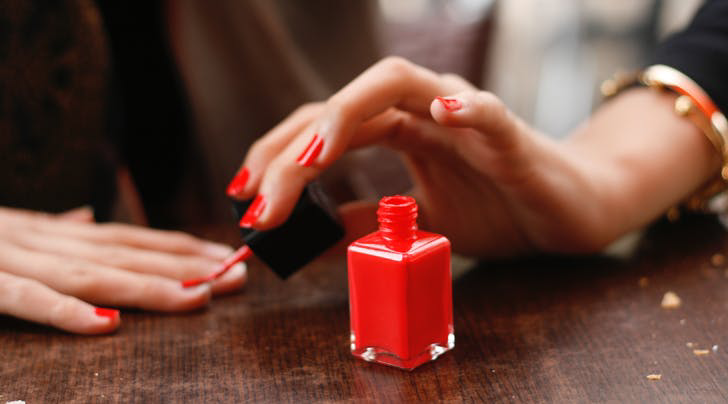
Firstly you need to cover up each of your nails with a base coat in order to provide an even surface for the nail colour. The base coat also makes sure that the nail colour you will be applying looks good, even and doesn’t streak.
After this, you need to let the base coat dry and then go ahead with applying the nail polish. We also suggest you roll the bottle of nail polish for a few seconds between your palms. It will help the colour to blend and will also remove the air bubbles present in it. After this, you can use the nail polish and apply it thinly and evenly. After you are done polishing every nail completely you need to wait for some time until the colour completely dries. After that, you should go ahead with applying the second coating. The best way to use nail polishes is by starting with one vertical stripe and then subsequently colouring the sides of the nails.
Then you need to finish up by applying the top coating. The top coating helps in making the nail look clear and smoother. Besides this, it also helps the manicure stay in its place for around a week. If you don’t use the top coating then it may cause fading of the nail colours and its shine much faster.
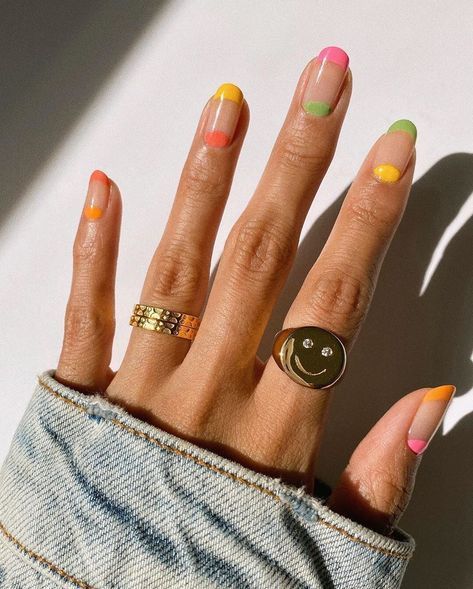
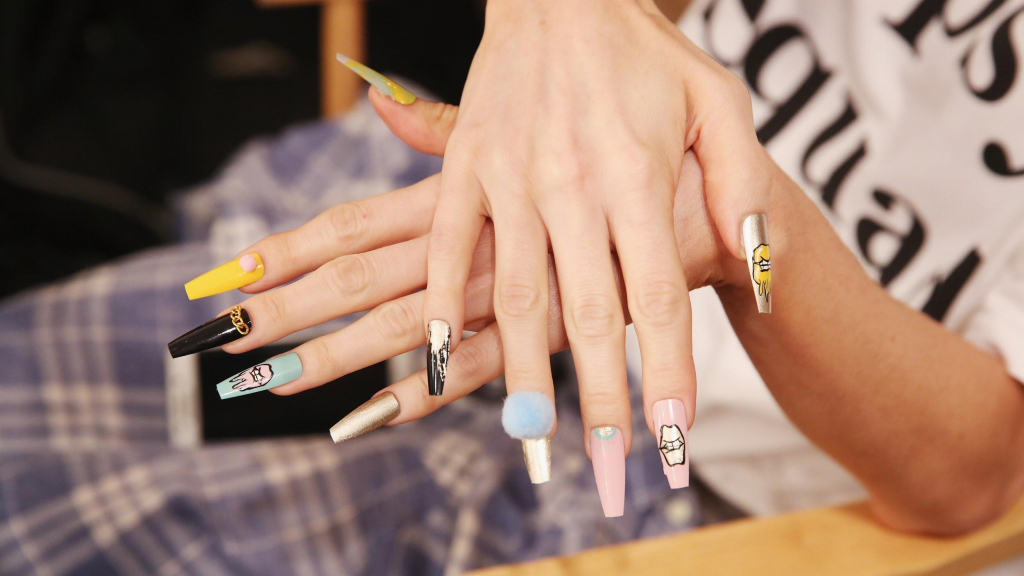
So this was the complete process of manicure by which you can easily make your nails look good at your home. If you wish to add more beauty to your nails you can surely go with adding designs and patterns to your nails. You can also try fading your nails with different colour combinations from white to red, yellow to green or maybe black to grey.